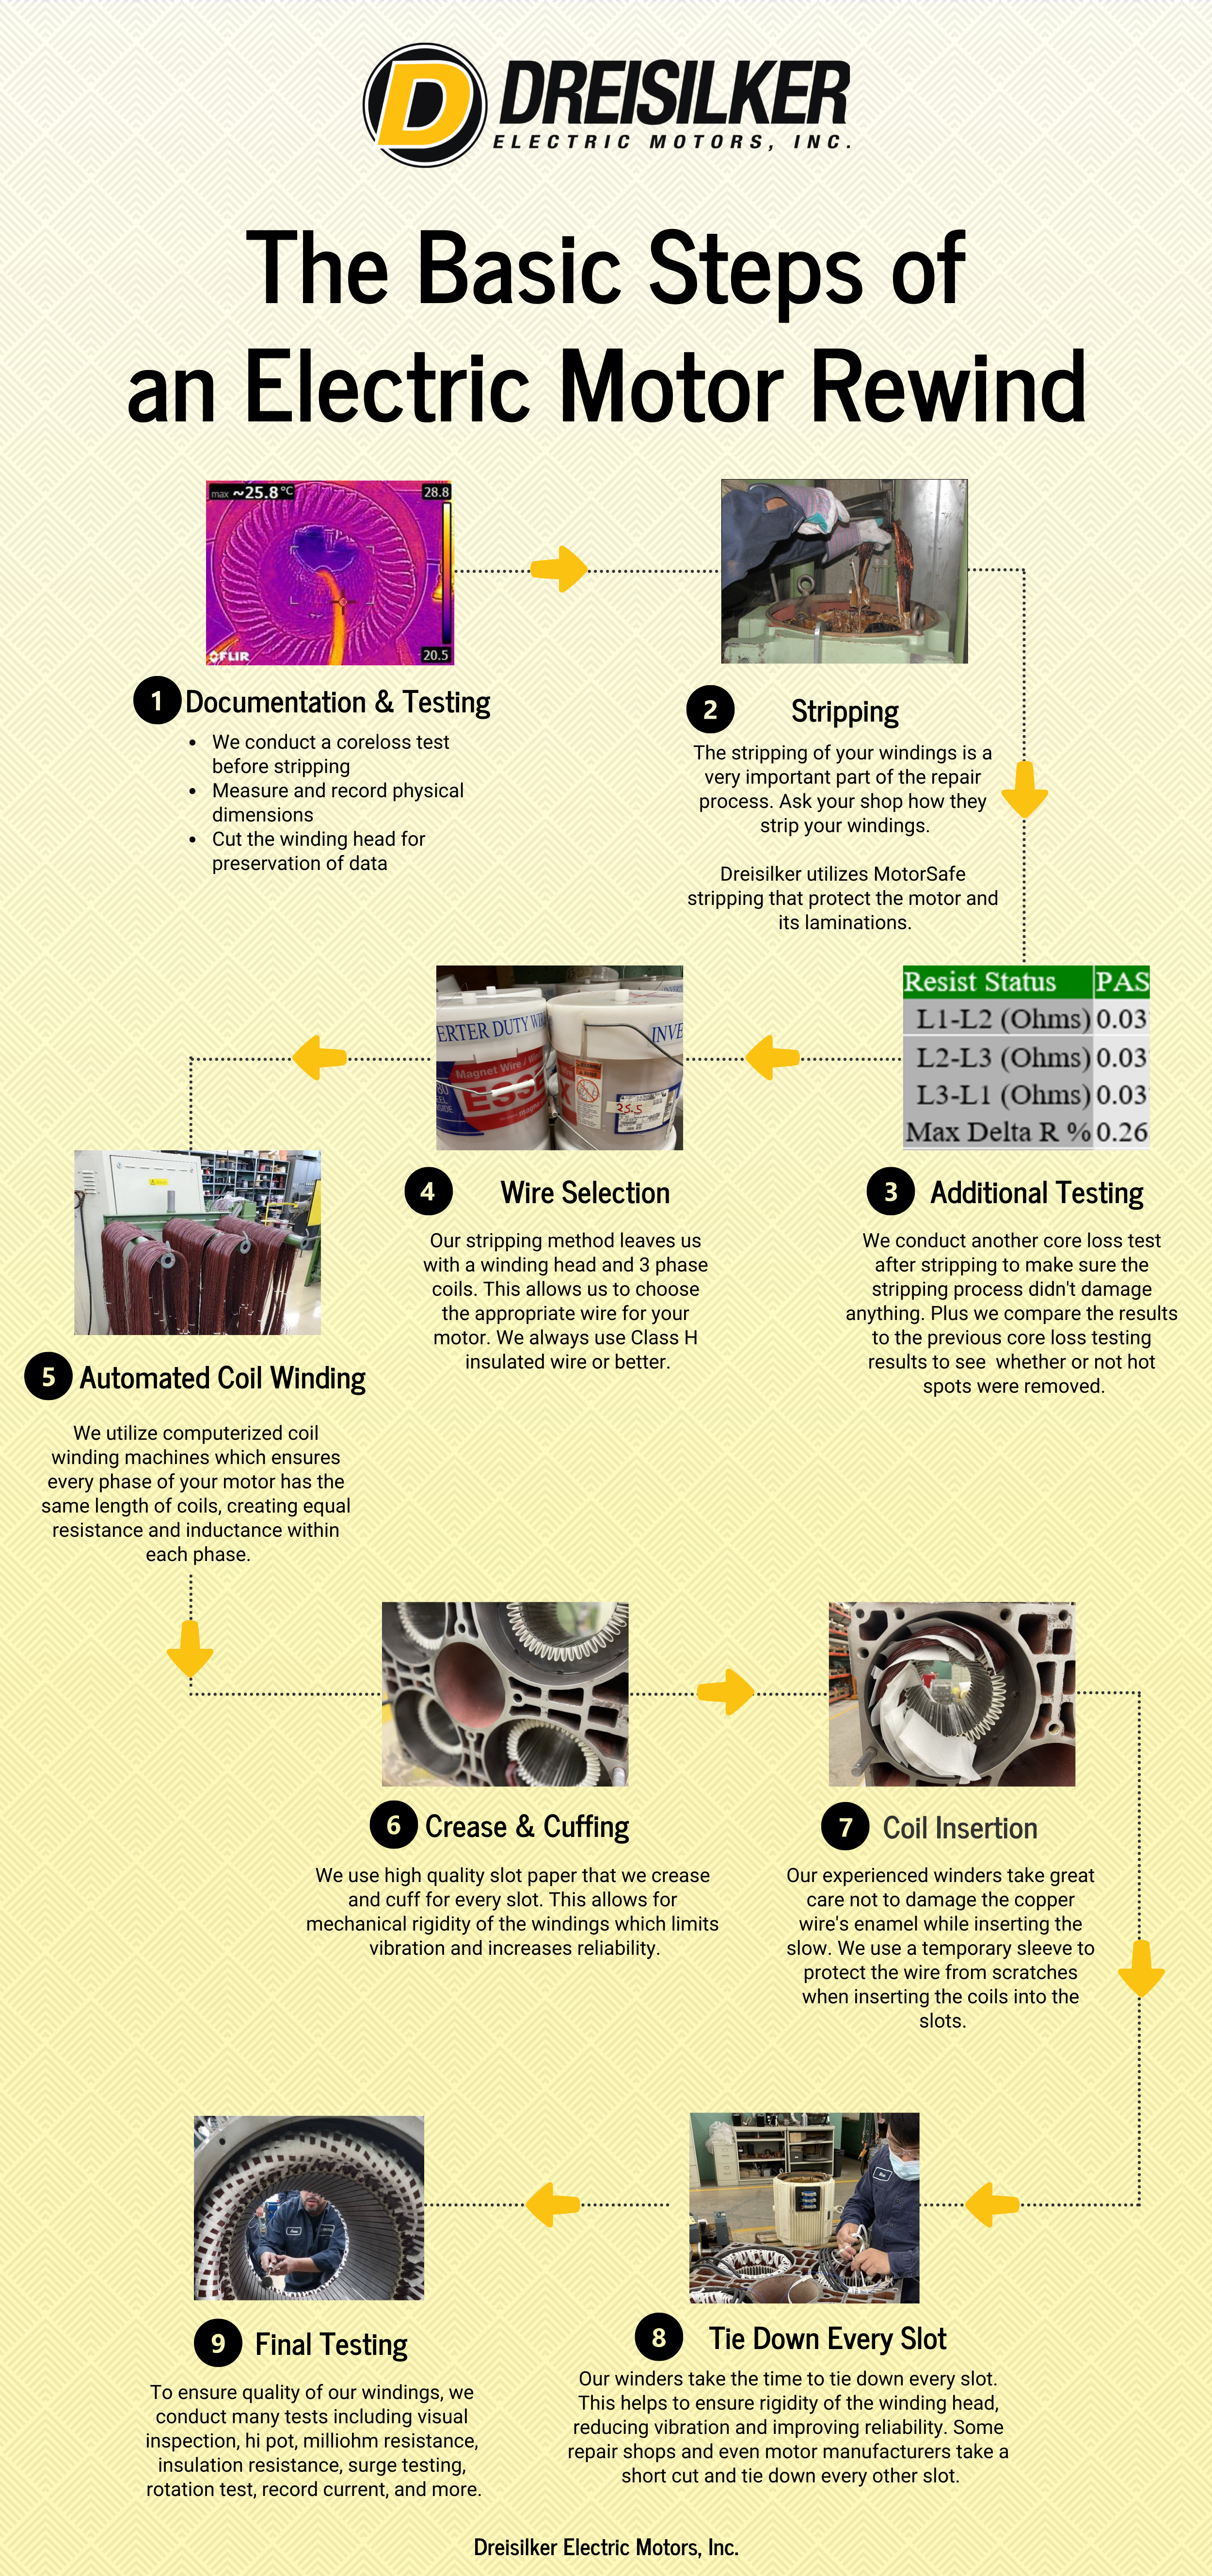
The Basic Steps of an Electric Motor Rewind

1. Documentation and Testing before an Electric Motor Rewind
- We conduct a coreloss test before stripping
- Measure and record physical dimensions
- Cut the winding head for preservation of data
2. Electric Motor Rewind: Stripping
3. Additional Testing
4.Wire Selection for an Electric Motor Rewind
Our stripping method leaves us with a winding head and 3 phase coils. This allows us to choose the appropriate wire for your motor. We always use Class H insulated wire or better.
5. Automated Coil Winding
We utilize computerized coil winding machines which ensures every phase of your motor has the same length of coils, creating equal resistance and inductance within each phase.
6. Crease and Cuffing during an Electric Motor Rewind
We use high quality slot paper that we crease and cuff for every slot. This allows for mechanical rigidity of the windings which limits vibration and increases reliability.
7. Electric Motor Coil Insertion
Our experienced winders take great care not to damage the copper wire’s enamel while inserting the slow. We use a temporary sleeve to protect the wire from scratches when inserting the coils into the slots.
8. Tie Down Slots during an Electric Motor Rewind
Our winders take the time to tie down every slot. This helps to ensure rigidity of the winding head, reducing vibration and improving reliability. Some repair shops and even motor manufacturers take a short cut and tie down every other slot.
9. Final Testing of an Electric Motor Rewind
To ensure quality of our windings, we conduct many tests including visual inspection, hi pot, milliohm resistance, insulation resistance, surge testing, rotation test, record current, and more.

Leave a Reply
Want to join the discussion?Feel free to contribute!